android
LayoutInflater 사용예제
strawberry-smoothie
2020. 9. 21. 13:00
Layoutinflater는 부분 레이아웃을 로딩할때 주로 사용합니다.
activity_main.xml
//...

<LinearLayout
        android:id="@+id/container1"
        android:layout_width="match_parent"
        android:layout_height="match_parent"
        android:orientation="vertical">
    </LinearLayout>

//...
MainActivity.java
//...

protected void onCreate(bundle savedInstanceState){
	//...
    TextView txt;
    container = findViewById(R.id.container);

        Button button = findViewById(R.id.button);
        button.setOnClickListener(new View.OnClickListener() {
            @Override
            public void onClick(View v) {
                LayoutInflater inflater = (LayoutInflater) getSystemService(Context.LAYOUT_INFLATER_SERVICE);
                inflater.inflate(R.layout.subview1, container, true);

                txt = container.findViewById(R.id.textview);
                txt.setText("2번째 화면");
            }
        });

}
실행결과

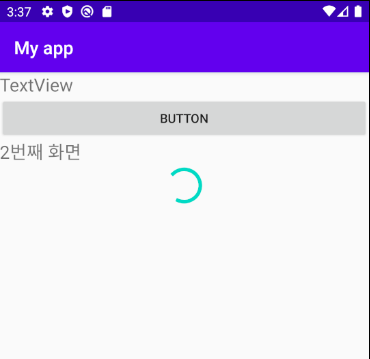
먼저, container로 activity_main.xml파일의 LinearLayout를 가리키게 합니다.
버튼이 눌리면 LayoutInflater 객체의 inflate()가 실행되는데 subview1.xml의 레이아웃을 linearLayout영역에 만들게 됩니다.